 |
Mistakes Were Made; | ||||
|
Recently I refinished and restored an old Japanese Squier
Stratocaster. This was my first attempt at finish work of any
kind. The results were personally pleasing if not of professional
quality, and this page offers some pictures of the process. If
I can do this, you can probably do even better.
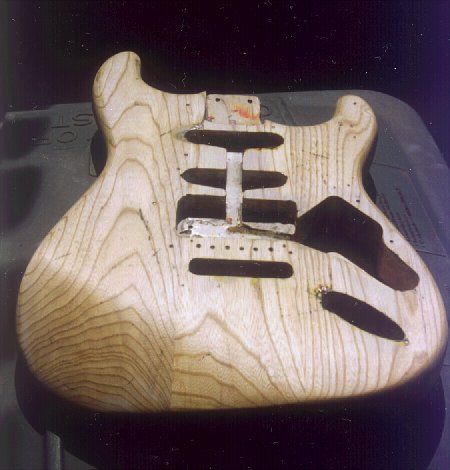
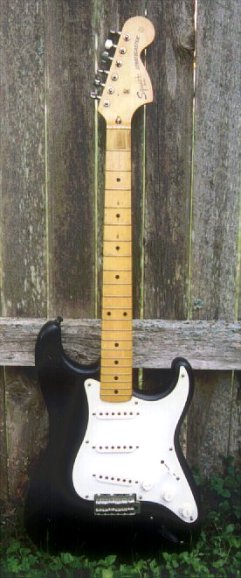
One day I walked into a guitar shop here in Austin and saw a black CBS-style Squier Strat sitting behind the counter. When I asked to see it, the owner warned me that it would not be pretty -- and he was right. The body had not only been refinished multiple times in some pretty ugly colors before being clumsily sprayed black, but someone had apparently taken a BIC pen to it and made deep gouges all over the body. The black jack plate was an additional tasteful touch. It was an utter mess to look at. On the other hand I liked the way it sounded under all that ugly paint. It had a sort of hollow, deep tone with a lot of harmonics and good sustain. The price was right so I decided to buy it and learn something new by refinishing the body myself. I was aware of Bill Lester's Guitar ReRanch, so I visited the Web site and after some deliberation ordered a can of Daphne Blue nitrocellulose lacquer (just like the classic Fender custom color) and a can of clear coat. (I don't want this to sound like an ad for the ReRanch, but the availability of clear instructions on how to do a color finish, and solid Fender custom colors in spray can loads, gave me a way to do something I honestly had never thought I would be able to do for myself.) The first step was to strip the body - to find it was made of some sort of figured wood, probably ash (?). I thought most imported Fender guitars were made of basswood, but this has a lot more grain than any basswood I have seen. Oh yeah, did I mention the ``routing'' for a bridge humbucker, done with a drill? I have no pictures of the body when I first disassembled the guitar. Take my word for it, it was not a pretty sight. Here's the body after:
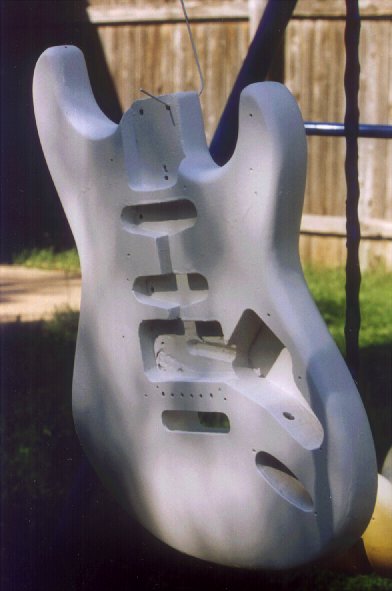
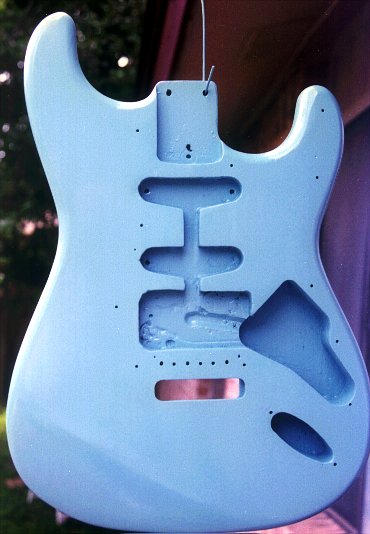
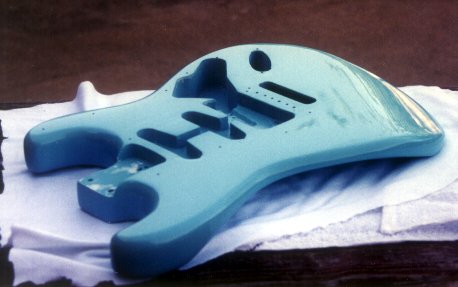
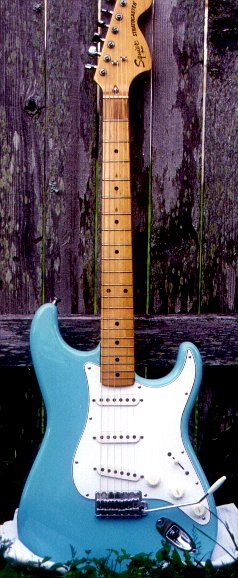
My biggest mistake in the whole process was to spray the white primer on too thick -- and then try to sand it down too fast. Had I been more patient, the end result would have been much better. But I was impatient and pressed on anyway. :( Here the body has been covered in color coats and then clear coat. I wasted a lot of paint being tentative during the first color coats, and then had a sand-through to the primer after I ran out of color paint. I was far more careful and efficient with the can of clear lacquer! After allowing the lacquer to dry for a week (probably too early, actually), it was on to final sanding and rubout. Elbow grease is a vital component. I polished the body outside in the shade, and found I missed a lot of subtle marks because I didn't change my viewing angle to try to catch them in the sunlight. Finally, after 3 weeks of work and waiting, I reassembled the guitar. I used a Carvin '62 Reissue style pickguard from the parts box to get back closer to the original look. Here is a before-and-after comparison:
| |||||
| BASIC FINISHING | GALLERY | PRODUCTS | MAIN MENU |